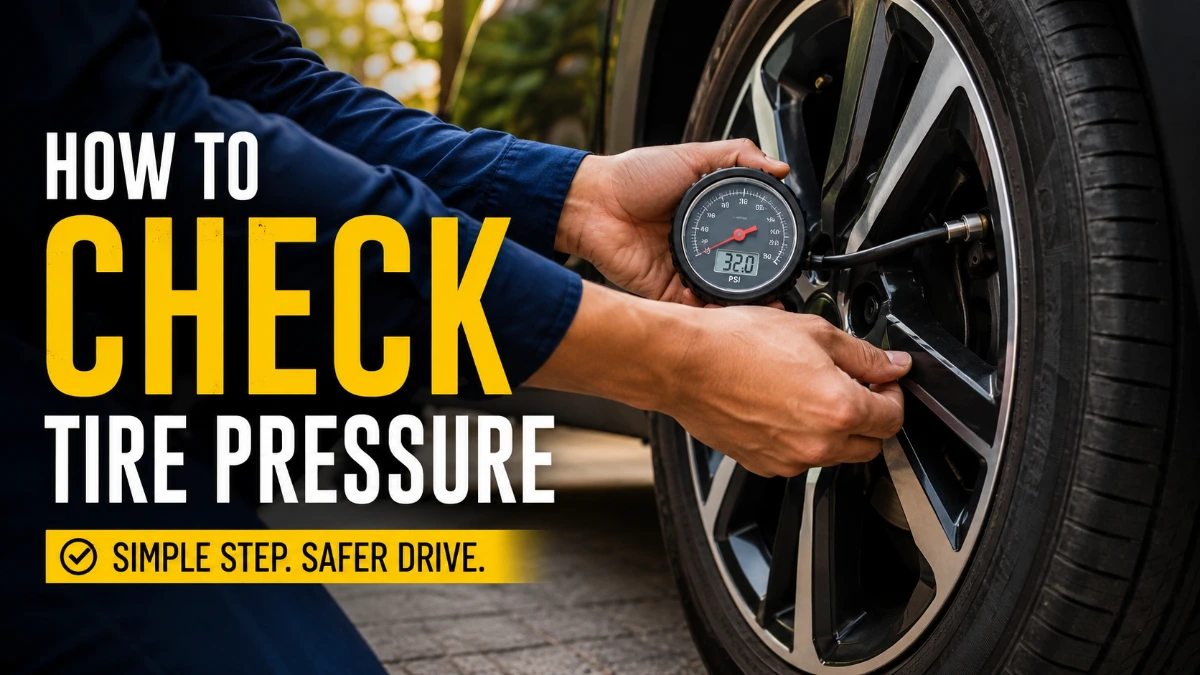
If you want to know how to check tire pressure correctly, the process comes down to four things: a tire pressure gauge, your vehicle’s recommended PSI number, a valve stem to press the gauge against, and a few quiet minutes before you’ve driven anywhere. For the most accurate result, check tires when they’re cold, match the reading against the number on your door jamb sticker, and top up or release air as needed. The rest of this guide walks through each step in detail so you get a reliable reading every time.
What You Need Before You Start
Checking tire pressure doesn’t require a mechanic’s toolkit. A tire pressure gauge and, if your tires turn out to be low, a way to add air are the only essentials.
Types of tire pressure gauges
There are three common types of gauges, and each works fine for learning how to check tire pressure at home or on the road.
| Gauge Type | Notes |
| Pencil-type | Slim stick gauge; a marked rod extends to show the reading; inexpensive and easy to store in a glovebox |
| Dial gauge | Displays pressure on an analog face; generally easier to read at a glance than a pencil gauge |
| Digital gauge | Shows an exact numeric readout on a small screen; often the most precise and easiest for beginners to interpret |
Some gauges include a built-in release valve, useful if a tire turns out to have too much air. If you don’t have an air compressor at home, most gas stations and auto parts stores have one available, sometimes for a small fee.
Find Your Vehicle’s Recommended Tire Pressure
Before you check anything, you need to know the target number for your specific vehicle. This is the step most people get wrong, and it’s central to doing this correctly.
Why the sidewall number isn’t your target PSI
The number printed on your tire’s sidewall is the maximum pressure that tire can safely hold, not the pressure your vehicle’s manufacturer recommends for daily driving. The correct number to use when checking tire pressure is found on a sticker inside the driver’s side door jamb or inside your owner’s manual. Vehicle manufacturers generally set this recommended figure based on the car’s weight, suspension, and handling characteristics, and it’s usually lower than the maximum sidewall figure. Front and rear tires sometimes have different recommended pressures, so check both numbers on the placard.
How to Check Tire Pressure: Step-by-Step
Once you have a gauge and know your target PSI, the actual process takes only a few minutes per tire.
- Locate the valve stem on the tire and remove the small cap by twisting it counterclockwise.
- Press the open end of the gauge firmly and straight onto the valve stem until you hear the hissing stop.
- Read the number: a pencil gauge will show an extended marked rod, while a dial or digital gauge will display the reading directly.
- Compare this number to the recommended PSI from the door jamb sticker or owner’s manual.
- Replace the valve stem cap securely.
- Repeat for each remaining tire, including the spare.
Keep the gauge perfectly straight against the valve stem while checking; an angled connection often causes a hissing leak and a falsely low reading. This is the core routine behind how to check tire pressure, and it stays the same regardless of which gauge type you use.
Best Time to Check: Cold vs. Warm Tires
Timing matters more than most people realize. Tires heat up as you drive, and that heat causes the air inside to expand, which can inflate the reading by several PSI above the true baseline.
For the most accurate result, check tire pressure when tires are “cold,” meaning the vehicle has been parked for at least three hours or driven less than a mile. Tire manufacturers generally recommend this cold-tire window specifically because it removes heat-related variation from the reading. If you must check after driving, keep in mind the number will run slightly high, and adjust your expectations rather than immediately releasing air to match the cold-tire target.
What to Do If Pressure Is Too Low or Too High
Once you have a reading, correcting any mismatch with the recommended number is straightforward.
Adding air
If the tire is underinflated, attach an air compressor nozzle to the valve stem and add air in short bursts, checking the pressure with your gauge between each burst so you don’t overshoot the target.
Releasing excess air
If the tire is overinflated, use the release valve on your gauge if it has one, or press the small pin in the center of the valve stem with a flathead screwdriver or similar tool. Release air in short intervals and recheck frequently, since it’s easy to let out more than intended.
How Often Should You Check Tire Pressure
Tire pressure naturally drifts over time due to temperature changes and small, gradual air loss, so a one-time check isn’t enough. Knowing how to check tire pressure is only useful if you turn it into a habit: a monthly check is reasonable for most drivers, along with a check before any long road trip and whenever the season changes, since cold weather typically lowers pressure and warm weather raises it.
Don’t forget the spare tire
The spare tire is easy to overlook, but it should be checked on the same schedule as your other four tires. Spare tires often require a different, sometimes higher, PSI than your regular tires, so confirm the correct number on the tire itself or in the owner’s manual before you need it in an emergency.
TPMS Warning Light vs. Manual Checks
Many modern vehicles include a Tire Pressure Monitoring System, or TPMS, that triggers a dashboard warning light when pressure drops meaningfully below the recommended level. While useful as an early alert, TPMS is not a substitute for knowing how to check tire pressure manually. The light typically only activates once pressure has already dropped past a set threshold, so a tire can be moderately low without triggering any warning at all. A manual gauge check gives you the actual number, letting you catch small pressure losses before they become a dashboard alert.
Common Mistakes to Avoid
Even drivers who know the basic steps for how to check tire pressure sometimes get details wrong, which affects the accuracy of the result.
- Using the sidewall maximum PSI instead of the manufacturer’s recommended PSI from the door jamb sticker.
- Checking pressure right after driving, when tires are warm, and readings run artificially high.
- Holding the gauge at an angle against the valve stem causes air leakage and an inaccurate low reading.
- Forgetting to check the spare tire until it’s needed in an emergency.
- Relying solely on the TPMS light instead of periodic manual checks.
Frequently Asked Questions
Aim for a monthly check, plus additional checks before long trips and when the seasons change significantly.
Look at the sticker inside the driver’s side door jamb or check your owner’s manual; do not use the number printed on the tire’s sidewall.
Check when tires are cold, meaning the car has been parked for at least three hours or driven less than a mile, for the most accurate reading.
A tire pressure gauge (pencil, dial, or digital) is the only essential tool; an air compressor is needed only if you plan to add air yourself.
Yes, and it often requires a different PSI than your regular tires, so confirm the specific number for your spare.
TPMS typically only warns once pressure drops below a set threshold, so it may not reflect small pressure differences a manual gauge would catch, or the light may need a reset after adjustment.
No, that number is the tire’s maximum safe pressure, not the manufacturer’s recommended pressure for your specific vehicle.
Use your gauge’s release valve or press the valve stem pin with a small tool to let air out gradually, checking pressure frequently as you do.